How-to guide
How to customise your branded Clovo apps
Update your studio logo, colours, description and app icon so the Clovo app, landing page, client emails and invoices feel like your brand.
Prospective clients do not separate your booking flow from your brand. When the app, landing page, emails and invoices all look coherent, your studio feels more established before someone has even walked through the door. That first impression matters most when a new client is deciding whether to book.
Clovo lets you update the client-facing brand surfaces from setup, so you can make the platform feel like your own without commissioning a custom app project. This guide covers what to prepare, how to apply your branding, and where to check it before clients see it.
Before you start
- Have your brand assets ready: a square studio logo (a transparent background is usually safest on small screens), your primary brand colour, an accent colour, a short studio description and an app icon.
- If you are still setting up, run through getting started with Clovo first so your studio is live and you have somewhere to apply the branding.
- Keep your website and social profiles open in another tab so you can match logo, naming and tone exactly.
Set it up, step by step
-
Gather your brand assets
Collect everything before you open the settings, so you are not hunting for files mid-edit. A square logo with a transparent background reads cleanly on small screens, where most clients will see it.
- Studio logo
- Primary brand colour
- Accent colour
- Short studio description
- App icon
-
Open the branding settings
In Clovo Studio, go to Setup › Apps, or use the Setup Branding shortcut from the dashboard. Both lead to the same place — the shortcut is just quicker if you are already on the home screen.
-
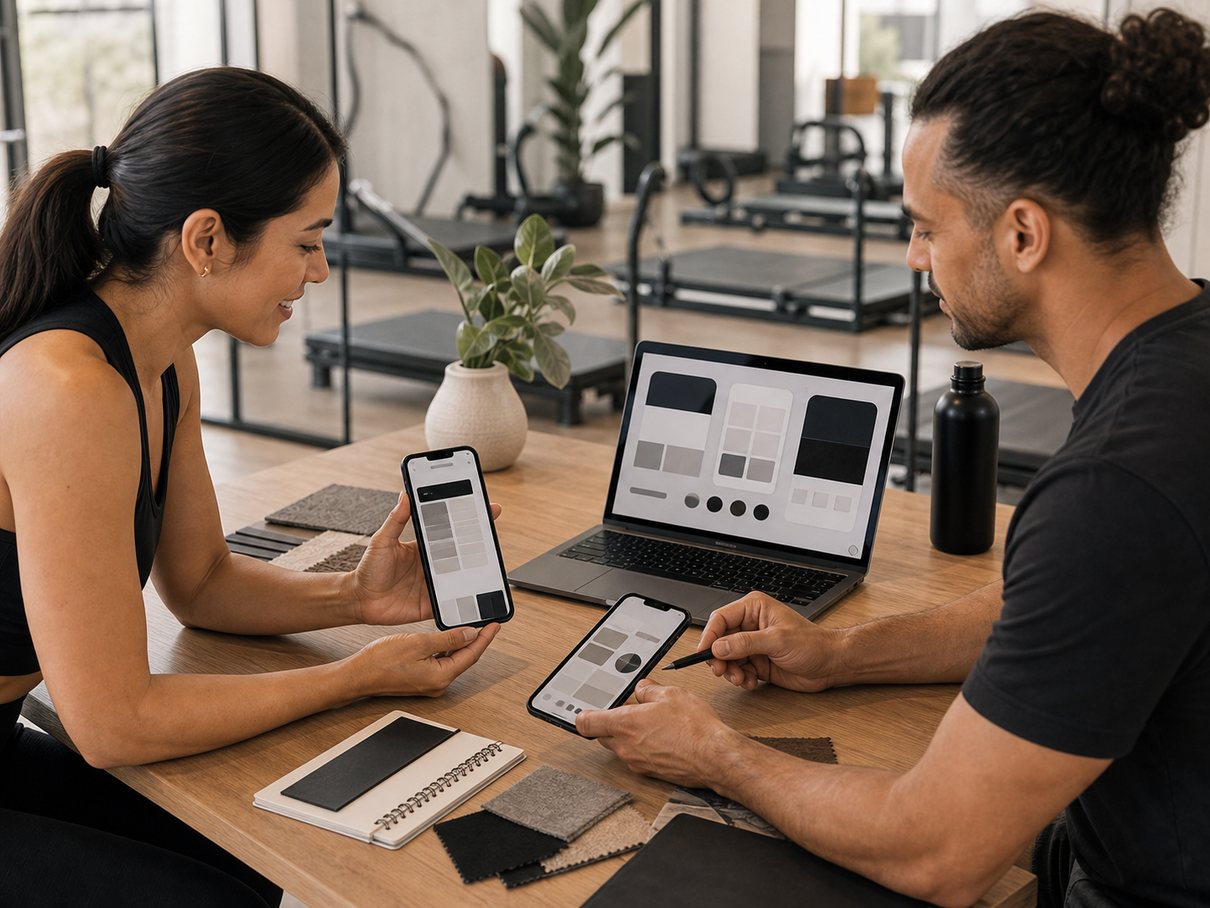
Upload your logo and set your colours
Add your studio logo and set your primary and accent colours. These carry through to the client app, so it is worth checking the logo still reads well at a small size before you move on.
-
Add or update your studio description
Write the description for someone deciding whether to book, not for internal use. Name the type of studio, describe the experience in plain language, and skip any internal slogans that need explaining.
-
Save and review across surfaces
Save your changes, then look at the result the way a client will — ideally on a phone. Your branding flows through to the Clovo client app, your landing page and transactional emails, so check the whole journey, not just one screen.
Check the surfaces clients actually touch
Branding is only as good as the worst place it shows up. A logo that looks crisp on the app home but pixelated on an invoice undoes the effort, so review each client-facing surface deliberately — and do it on a phone, where most of your clients are.
- Client app home and account screens
- Landing page profile and product sections
- Booking and purchase emails
- Invoices and payment touchpoints
Tip
Your landing page is often the first branded surface a new client sees, especially if you link it from social or embed Clovo in your WordPress website. Review the landing page profile and product sections closely — it sets the tone for everything that follows.
Write a description that earns the booking
The studio description is not just admin text. It is often the line that tips someone from browsing to booking, so treat it like a short, honest pitch rather than a tagline.
- Mention the type of studio so people know they are in the right place.
- Describe the experience in plain language a first-timer will understand.
- Avoid internal slogans or shorthand that need explaining to make sense.
Then keep everything consistent with your website and social profiles — the same logo, the same naming and a compatible tone of voice across every booking touchpoint. Consistency is what makes a small studio feel like a brand clients trust.
Common questions
Do i need a custom app built to brand the Clovo apps?
No. You update your logo, colours and description from setup in Clovo Studio, and the changes apply to the client-facing surfaces automatically. There is no custom app project to commission.
Where do my branding changes show up?
They appear across the Clovo client app, your landing page and transactional emails such as booking confirmations, purchase receipts and invoices. Review each from a client's perspective, especially on a phone.
What logo works best on small screens?
A square logo with a transparent background is usually the safest choice. It scales cleanly in the app and sits well against different backgrounds without an awkward edge.
What to remember
- Branding flows through to the client app, landing page, emails and invoices — so review all of them, not just one screen.
- Prepare a square logo with a transparent background and your colours before you open the settings.
- Write the description for a client deciding whether to book, and keep it consistent with your website and social profiles.
Ready to try it in your studio?
Run bookings, payments and client apps from one place.
Clovo gives boutique fitness studios the operating system behind the tutorial: dashboard setup, branded apps, payments, landing pages and client communication.